Wednesday 27 February 2013

Client Requirement and Creative Intent


Client Requirement 

Client requirement is when the client has an idea that you follow. This is often used with commercial companies and for promotion on a product.


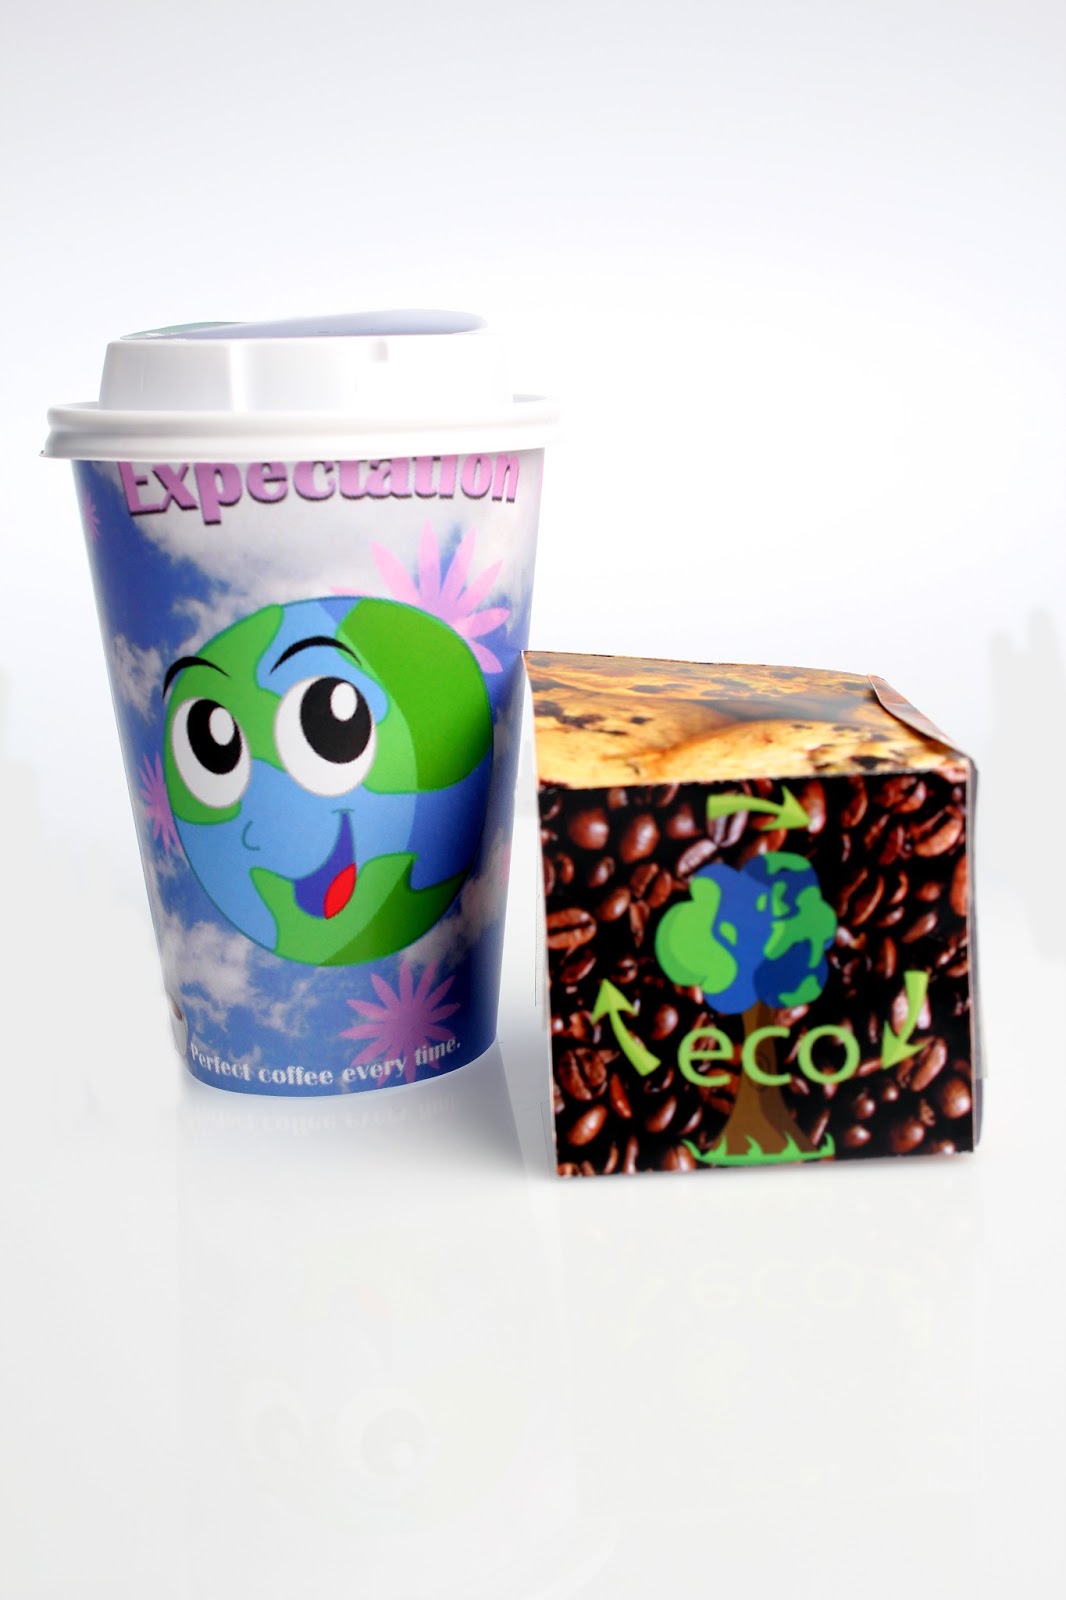
In this image, the photographer would have been told that the image is for a promotion of the products. 


Creative Intent


Creative intent is where you take an image where the idea has came from your own imagination, with the intention that others will like the image or that it will become successful.


These images are by Gregory Crewdson, his photographs are normally in small towns in America. They are very dramatic, cinematic and eye catching. They sometimes feature disturbing and surreal events, to achieve these fascinating results he uses a large crew and they are often elaborately staged and lit


Monday 25 February 2013

Food photography

These images where taken in the Colours Restaurant, some using natural lighting and some using the soft box.


Thursday 21 February 2013

Product Photography - Coffee


When shooting these images I used, ISO 100, F7 and shutter speed 1/125, I placed the cups, coffee beans and food onto the product table, with one light underneath the table so you don't get much reflection and then one light to the left with a soft box on.


Wednesday 13 February 2013

Presentation


In a group we had to do a slide show or presentation on studio photography.
It talks about

  • Client Requirement 
  • Creative Intent 
  • Artists 
  • Studio Lights
  • High key
  • Low key
studio-photography This is the link to our Prezi, it was made by me, Desree and Mollie.

Health And Safety In The Studio


There can be many things that could be a hazard in the studio, here are some things that you should do:

*No food or drink should be taken into the studio.
* Make sure wires aren't in the way because someone may trip.
*When setting lights on stands or a camera on a tripod make sure that they're over a leg and not in between this is so that they wont collapse or fall.
*  Covers from light fixtures need to be taken off before switching on as they could melt.
*Lights can get hot very fast so be careful when taking them down as skin can get burnt, allow to cool.
*The room could be dark therefore this can cause a hazard as people could bump into each other or fall over.
*Never leave the studio unattended!

Studio Lighting Workshop

We got into groups and tried to identify what lighting had been used in each image. We then recreated the images.


The images above are the original image on the left and on the right is the image that I took. It has the same look about it however the background is mine is all black, whereas in the original its gray.  The image to the right is the diagram for the lighting.


The images above are the original image on the left and on the right is the image that I took. Although the images aren't exactly the same I like it turned out, the shadows on the face are very similar to the original. Again it's just the fact that the background has gone completely back, however in the original they probably had a backdrop to active this look.  The image to the right is the diagram for the lighting.


The images above are the original image on the left and on the right is the image that I took. I really like this image as it looks moody and mysterious, if I was to do it again I would add in a gold reflector to add a glow to the skin tone.  The image to the right is the diagram for the lighting.


The images above are the original image on the left and on the right is the image that I took. This image isn't one of my best  I think. I needed to make the background more white and this would make the image look more like the original and I think it'd make the dark hair stand out more. The image to the right is the diagram for the lighting. 

The images above are the original image on the left and on the right is the image that I took. I think that this could've turned out better if the light on the subject was brighter, as I think that it looks too dull/dark. The image to the right is the diagram for the lighting.

The images above are the original image on the left and on the right is the image that I took. I really like this image, I think that the light from behind makes the viewer drawn to the face. The image to the right is the diagram for the lighting.


Harold Edgerton


Dr. Harold E. Edgerton, professor at MIT (Massachusetts Institute of Technology) and inventor of the electronic flash, devoted his career to recording what the unaided eye can't see. His photographs illustrate such moments as: a bullet seen the instant it explodes through an apple, a perfect coronet formed by a milk-drop splash. These images have become classics of modern art and science.


Edgerton's photographs were taken using "standard" cameras with electronic flash exposures ranging from 1/50,000 to 1/1,000,000 of a second. 


Quote
"Don't make me out to be an artist. I am an engineer. I am after the facts, only the facts."


Dr. Edgerton was the first to take high-speed color photographs and was a pioneer of multiflash and microsecond imagery, which he used to take detailed photographs of hummingbirds in motion, as well as the progression of athletes' movements. These wondrous images have shown us things we were never able to see before, in photographs that are as remarkable for their precision as for their beauty.

Harold Edgerton


These images are my attempts of trying to recreate what Harold did, however they didn't turn out good. In the first one my flash was just a little bit late as you can see the milk on the spoon is moving from when the drop landed but can't see the drop. The second one turned out a bit better, but this one is slightly out of focus. 


Tuesday 12 February 2013

Strobe photography - Balloons


To get these images it was very hard, we had a water balloon tied to a stand above a bin to catch the water. I set the camera to a 10 second shutter speed, I pressed the button to set off the shutter. At some point in the 10 seconds one of my friends would use a stick that had a pin on the end to poke the balloon so it would burst but at the same time someone else would press the button on the light to make it flash. You have to press the flash at the same time has you burst the balloon or you wont get it bursting.


ISO- 100
F 22
Shutter speed - 10 seconds
I used photoshop to edit this image first  I removed the stick then I added more contrast into the image. I also changed the colour of the balloon.


ISO- 100
F 22
Shutter speed - 10 seconds
I used photoshop to edit this image first  I removed the stick then I flipped this image upside down as it looks better. I added more contrast and added a bit of colour.


Monday 4 February 2013

High and Low Key Photography


High Key 
High key images are normally associated with happiness, therefore a lot of high key photography can be found in family and children portraits as well as a lot of product photography. 
High key is a lighting technique where images are bright and not too contrasted. High key photos have bright tones and a lack (or absence) of shadows.


It works well when shooting portraits, still life and product photos. In order to get a high key image you will need a soft box (or two, both pointing at your subject) and another two lights (soft boxes) facing the background to overexpose the back and this should create a high key portrait.

I set my camera on:
ISO-100
F.8
S (TV)- 1/125
Using two soft boxes lighting the back and two soft boxes to light the person.


Low Key
Low key is a image that has a subject that the lighting is focused on the subject and the background is dark/black.

ISO- 100
F 11
Shutter speed - 1/60


In this image i used a black backdrop and and one soft box on the left of the model to light her.


I used the same lighting on this however my camera setting were different that's why the background has tones of gray and then black.
ISO- 100
F 6.3
Shutter speed- 1/125


Mid Key
Mid key is an image that has gray tones in the background.


This image shows mid key as the background is gray however a white backdrop was used. I used two soft boxes in this image both at the front of the model pointing at her.
ISO- 100
F 7.1
Shutter speed- 1/125